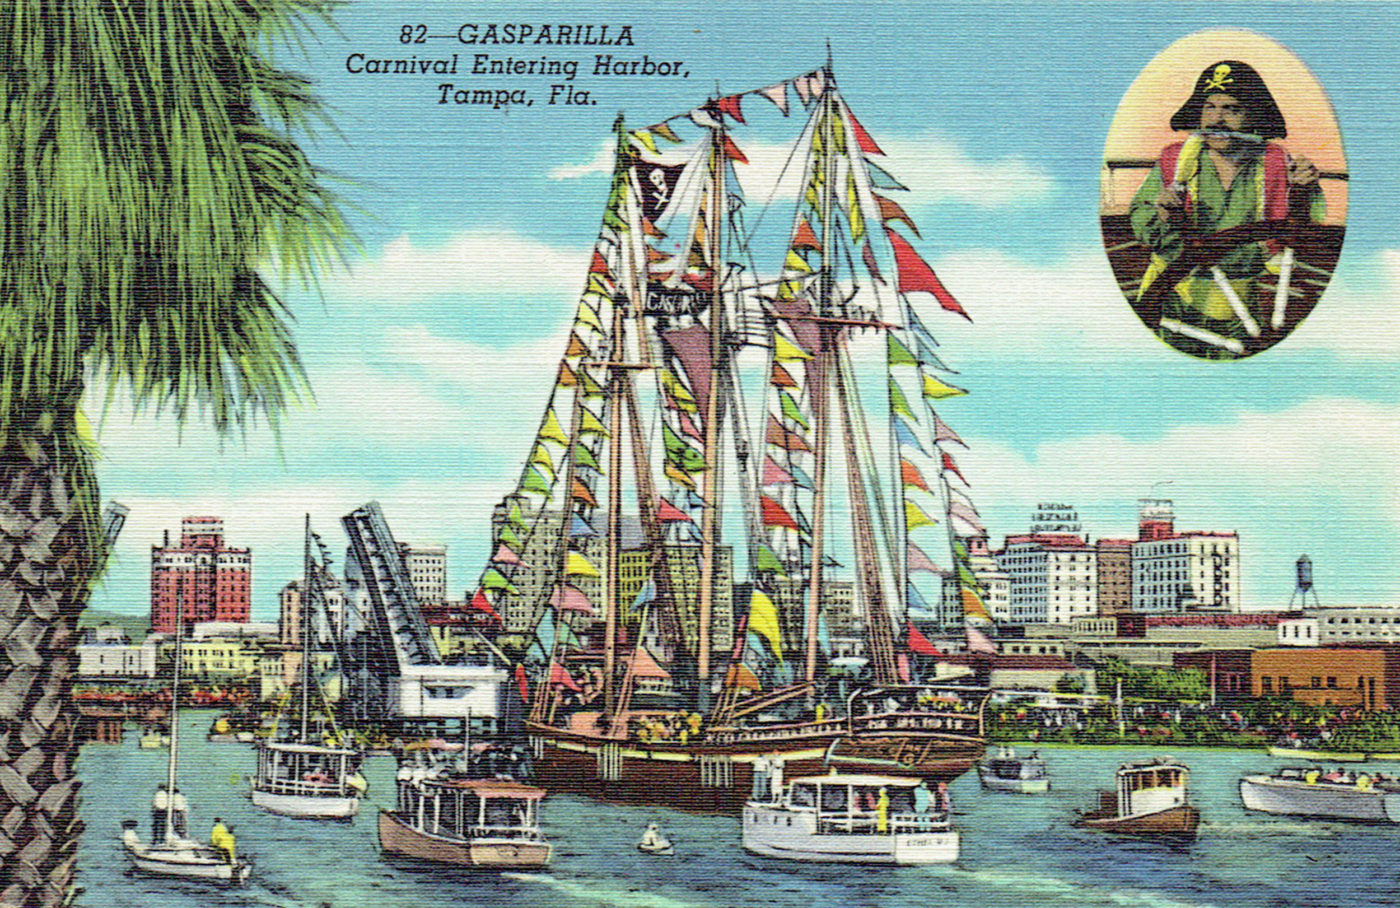
As soon as the Christmas lights come down, the Jolly Roger flags go up. At least that’s the way it goes here in Tampa.
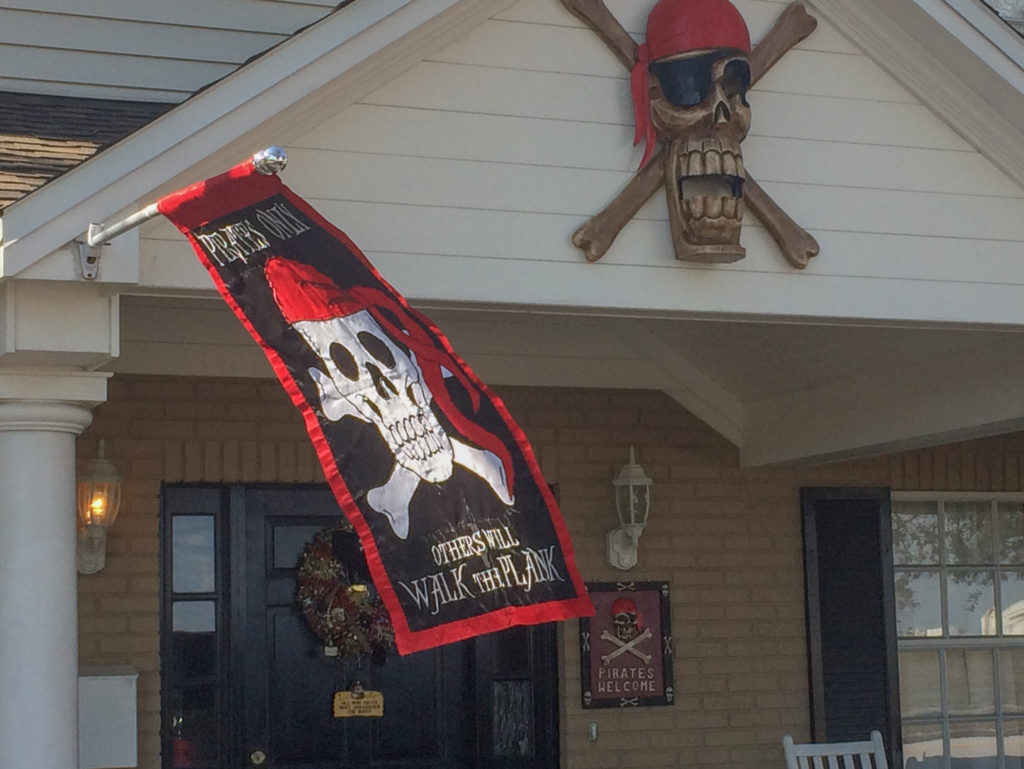
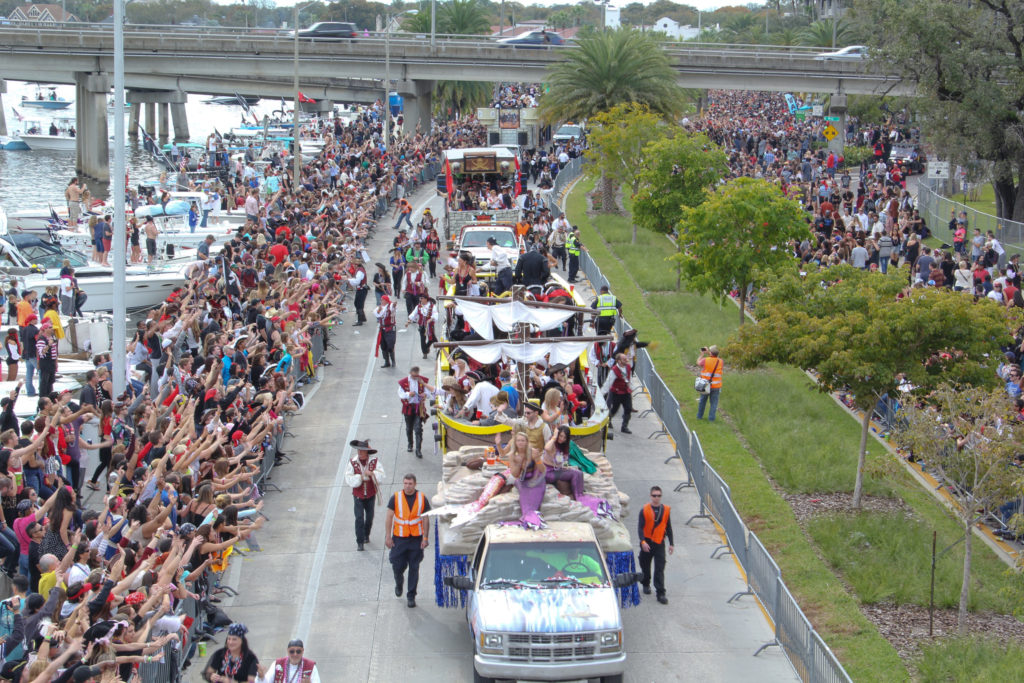
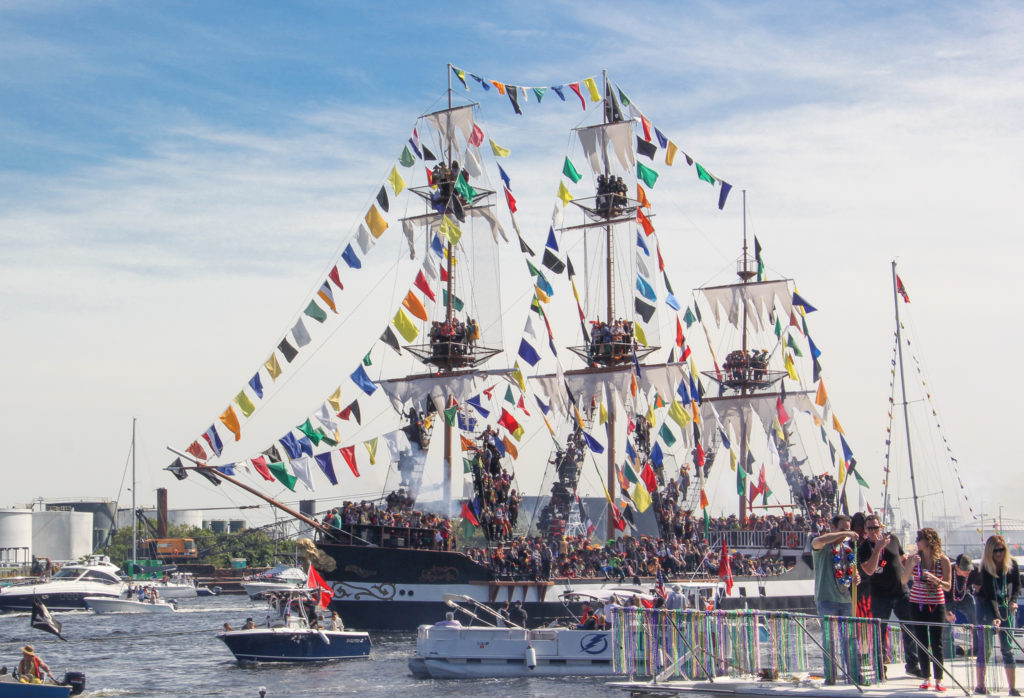
 For the next month we’re celebrating Gasparilla with art festivals, marathons, concerts, and several parades. With this much of a fuss, you’d think the pirate José Gaspar who inspired all this is a hero of Tampa.
He is, but there’s this one little thing: while plenty of buccaneers once sailed these waters, there was never a pirate named José Gaspar. He didn’t really hide his treasure on Gasparilla Island. He never kidnapped women and hid them on Captiva. He never sailed up Tampa Bay firing canons. He never tied himself to his anchor chains before his ship went down. 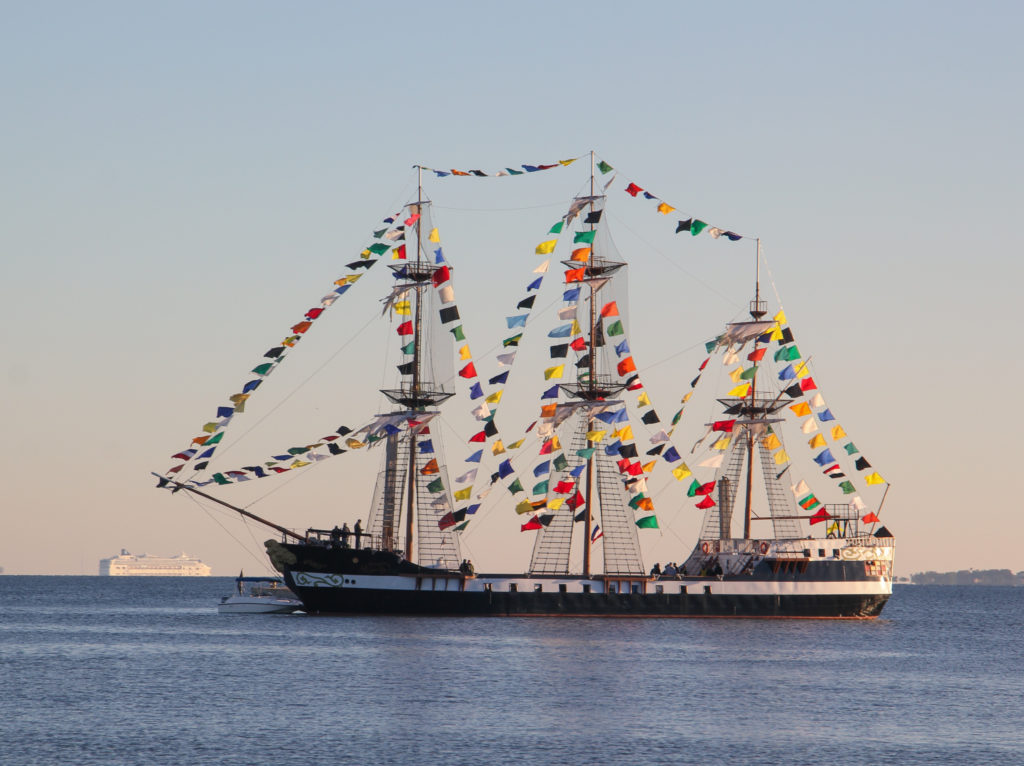 But we all love a good pirate story (for the record, A High Wind in Jamaica is my favorite).
Historical fakery is a favorite pastime in Florida. Tales like these drew masses here looking for gold, hidden treasures, and the fountain of youth. Gasparilla is one of our finest examples. With this fantastic tale, the city of Tampa wrote its own history.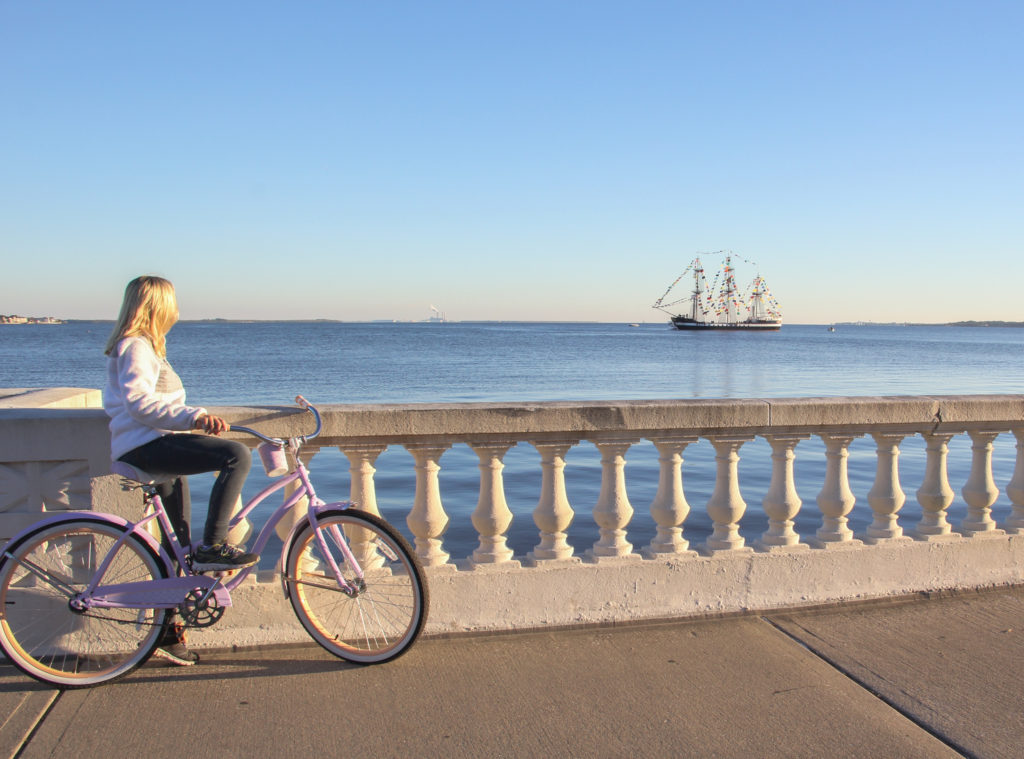
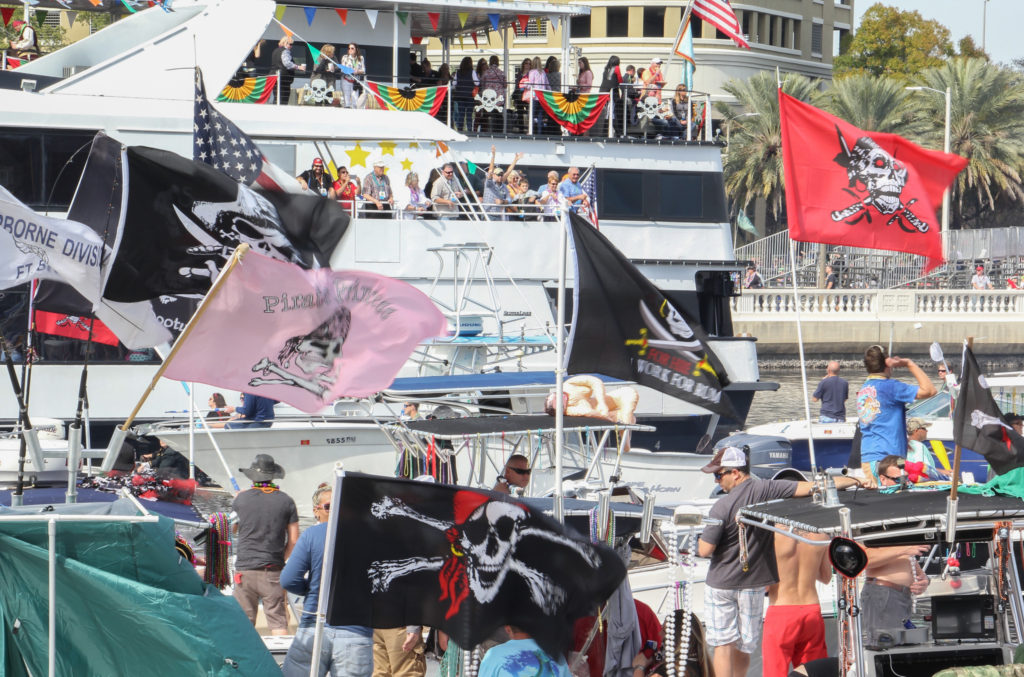
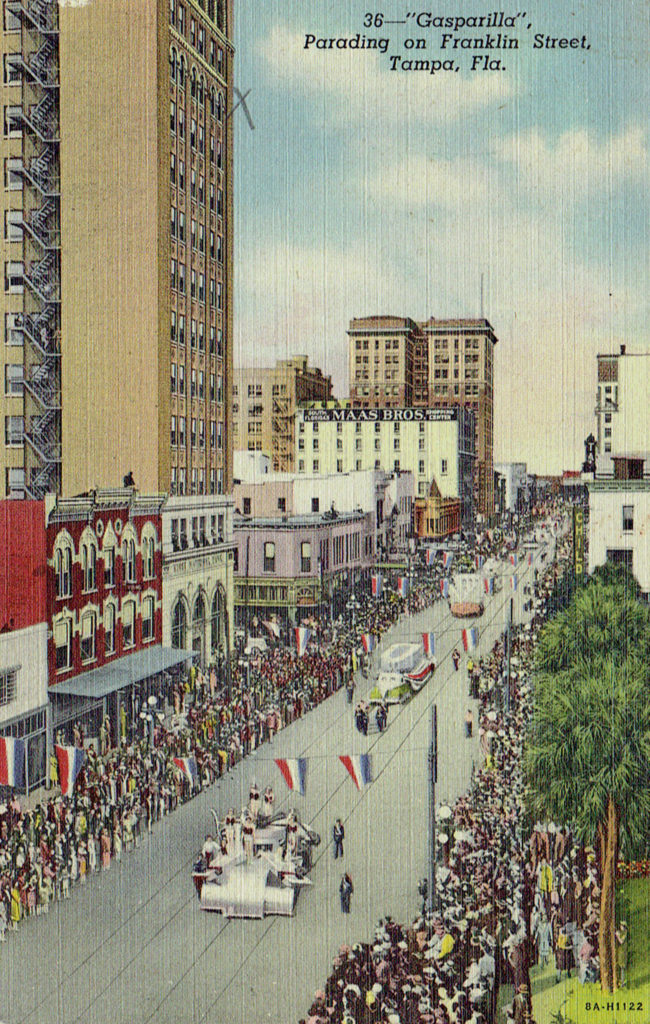 No one really cares if it’s fiction. We’ve been throwing a party in this pirate’s honor for over a hundred years. We love Gasparilla for what it really is: an excuse to celebrate the great city of Tampa, and all the folks who make it so.
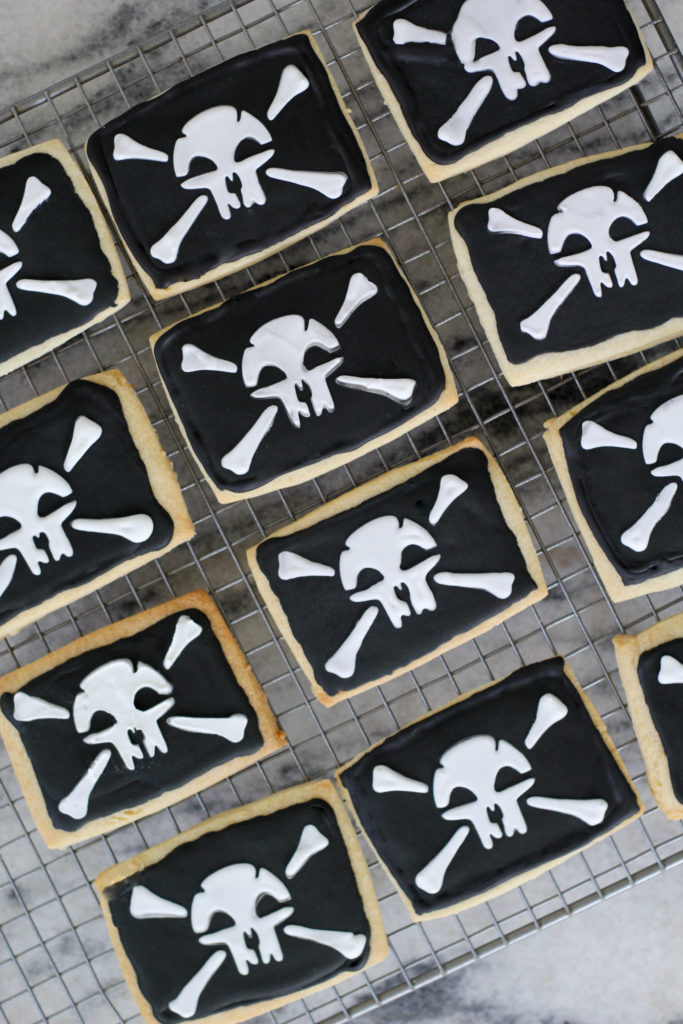
 For this year’s children’s parade I made a treat inspired by the Jolly Roger flag flown by pirates. They’re a Meyer lemon sugar cookie; easy to roll and a nice, flat canvas for decorating. I spiked the icing with coconut and rum (extract; sorry pirates). I used a cutter, stencil, and tools from BakeArt Stencils, which made a world of difference in my cookie decorating. They’re fun and they actually taste good.
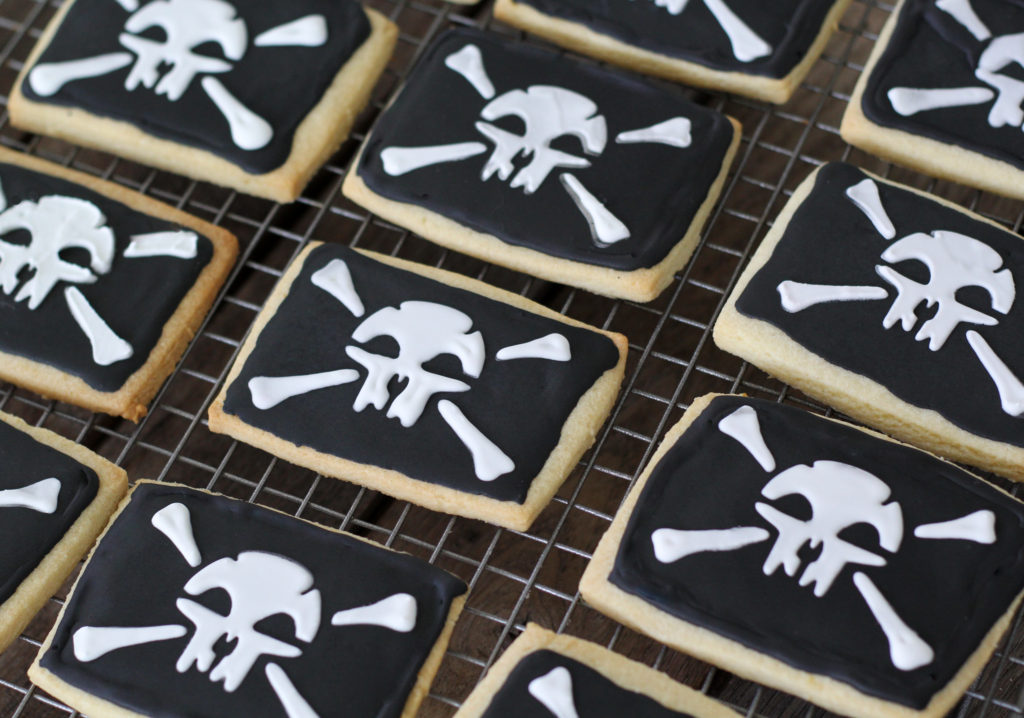 They say if you can’t beat ’em, join ’em, so this week it’s a pirate’s life for me.
- 2 cups unsalted butter (room temperature)
- 2 cups sugar
- 2 large eggs (room temperature)
- 1 teaspoon vanilla extract
- 1 teaspoon lemon extract
- 2 tablespoons Meyer lemon zest
- 6 cups flour
- 1/2 teaspoon salt
- 1/2 cup warm water
- 6 tablespoons meringue powder
- 3/4 teaspoon cream of tartar
- 1 teaspoon coconut extract
- 1 teaspoon rum extract
- 2 tablespoons Meyer lemon juice
- 2 pounds confectioner's sugar
- 1 tablespoon light corn syrup
- .5-.75 oz black gel food coloring
- .25 oz white gel food coloring*
- Preheat the oven to 350.
- Add the butter and sugar to the bowl of a stand mixture fitted with a flat beater. Beat on medium speed until light and fluffy. Add the eggs, vanilla extract, lemon extract, and Meyer lemon zest and beat until combined.
- In a large bowl, whisk together the flour and salt.
- If you have a bowl guard, use it. Otherwise wrap a towel around the mixer while you slowly add the flour, half a cup at a time, to the mixture while the machine is running, starting on low speed and increasing after you've added all of it. Keep beating until a stiff dough forms in the center.
- Divide the dough into quarters and pat into discs. Wrap in plastic wrap and refrigerate until you're ready to roll.
- Roll out the dough between two sheets of wax paper (so you don't dry out your cookies with more flour) until it's 1/4-inch thick. Cut cookies with a rectangular cutter, transfer to a parchment-lined baking sheet, then re-roll and cut more.
- Bake for 12-15 minutes, or until the edges are lightly golden. Repeat with the remaining dough.
- Allow the cookies to cool completely before decorating.
- Combine the water, meringue powder, and cream of tartar in the bowl of a stand mixer fitted with a whisk attachment. Mix on high for about 2 minutes. Add the coconut and rum extracts and Meyer lemon juice and blend again until incorporated. Slowly add the confectioner's sugar, about a cup at a time. Once you've added about half, drizzle in the corn syrup, then finish with the rest of the sugar.
- Divide the icing into thirds. Place one third in one bowl or measuring cup, and the other two thirds in a separate bowl or measuring cup. For the cup with one third, add drops of food coloring until it's bright white. Once there, add teaspoons of water until it's the consistency of toothpaste. Cover and refrigerate until ready to use.
- At this point, you might want to wear gloves to prevent looking as if you were juggling open Sharpies as I did.
- Blend the reserved two-thirds icing with a tablespoon of water and 20 drops of black food coloring. Keep adding more food coloring while mixing well it's truly, evenly black. Slowly add more water until it's the consistency of honey. Add the final icing to a squeeze bottle or a pastry bag fitted with a round tip.
- Once the cookies are cool, use the black icing to trace the outline of your flag, then squeeze on a dollop in the center and spread it with an offset spatula, butter knife, etc.
- Allow the cookies to dry for at least 5 hours.
- Now it's time to stencil on the skull and crossbones. I used a Stencil Genie to hold the stencil in place. Dollop the white icing over the stencil, then use a plastic scraper to drag off the excess. It's best if you can do it in one motion. Gently lift up on the stencil. Repeat with the remaining cookies. Every few cookies, you'll need to wash and dry your scraper and stencil.
- Allow that layer to dry for another few hours and they're ready to be looted by pirates of all sizes.
- *yes, if you want bright white, you've got to actually dye it that way, otherwise the skull and crossbones will be off-white or even yellow, depending on your extracts.